
I remember the first thing I tried from Bourke Street Bakery was their flourless chocolate cake. Since trying that cake I have been completely hooked with their goodies. This cake is something else. There is just something about flourless cakes. When I heard about this cake I imagined it would use almond meal as a flour replacement. However, it doesn't! The main ingredients are eggs, chocolate and cream. If you have seen the Bourke Street Bakery cookbook (which I still need to buy!) you will recall how lengthy the recipes are. I've been dying to try one of their baked goodies and here comes my attempt.
.
I decided for Orthodox Easter rather than baking two different desserts when visiting my parents and my in-laws I would bake the same dessert. I thought by the end of it I would be cursing the idea but no definitely not! Both cakes turned out to be a big success. Forget about the way they look, they are destined to crack. They taste amazinggggggggggggg.
.
Next Bourke Street goodie to try to make is their ginger creme brûlée tarts. Watch this space.
.
Just prior to serving

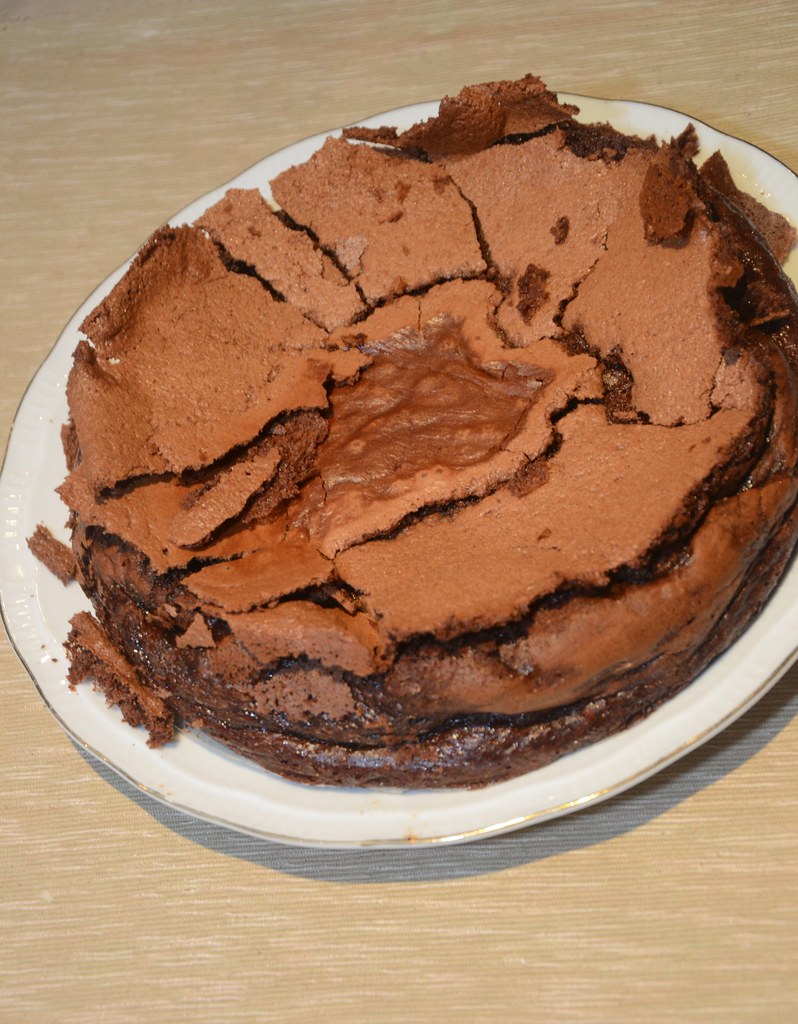
Straight out of the oven
.
Recipe from the book Bourke St Bakery: The Ultimate Baking Companion via A True Love of Mine
.
Ingredients
260g dark chocolate (55% cocoa)
135ml milk
40g (just over 1/8 cup) yoghurt
4 eggs
105g caster sugar (for the eggs)
4 egg whites
160g (2/3 cup) caster sugar (for the egg whites)
135ml pouring cream (35% fat)
55g (1/4 cup) unsweetened cocoa powder
.
Method
.
1. Preheat the oven to 150 degrees. Grease a 20 cm (8 inch) springform cake tin and line the base and sides with baking paper. The paper should rise about 2.5 cm (1 inch) above the tin. The taller the cake tin the better.
.
2. Place the chocolate in a large stainless steel bowl and set over a saucepan of simmering water. Make sure the base of the bowl does not touch the water. The bowl should be large enough to hold the entire cake mix. Allow the water in the saucepan to boil for 2 minutes, then turn off the heat and stir the chocolate while it slowly melts.
.
3. Add the milk and yoghurt in a saucepan over medium-high heat and bring to the boil. Turn off the heat. It should be a curdled milk mixture.
.
4. Put the eggs and the sugar for the eggs in the bowl of an electric mixer fitted with a whisk attachment. Whisk the eggs at medium speed for about 10 minutes, or until the mixture is very light and has doubled in volume.
.
5. In a very clean bowl, whisk the egg whites to soft peaks, then slowly add the sugar for the whites, whisking until soft peaks form a shinny meringue. Be careful not to overwhisk. Place in the refrigerator.
.
6. Whisk the cream until soft peaks form and place in the refrigerator until needed.
.
7. You should have ready to fold together the melted chocolate, curdled milk, whipped eggs, meringue, whipped cream and cocoa powder. Pour the curdled milk into the chocolate and use a whisk to mix it in, then add the cocoa and whisk to completely incorporate. Fold in the whipped eggs in three batches, making sure you completely incorporate the first batch before adding more. Lightly fold the meringue into the whipped cream, taking care not to knock out too much air. Fold this into the chocolate mix in three batches, making sure you incorporate the first batch before adding more.
.
8. Using a spatula, scoop the cake batter into the prepared tin and tap it twice gently on the bench to even out the mix. Bake for 1 hour 15 minutes to 1 hour 30 minutes. Take care to watch while it's cooking within the first 30 minutes. Within this period you should not smell the cake cooking. If you do make sure you lower the temperature.
.
9. Do not disturb the cake for the first 45 minutes of cooking, after which time you should rotate it to ensure even cooking. You may need to cover the top of the cake with baking paper and lower the oven temperature if the top of the cake is starting to brown. Test to see if the cake is baked by gently placing your hand on top of it and wobbling it a little, you should feel that the cake has set through.
.
10. Remove from the oven then allow it to cool for about 30 minutes in the tin before removing the sides. When completely cool, slide the cake onto a serving plate, to serve.
.
11. It is best to use a sharp fine-bladed knife to cut this cake. Have a jug of very hot water, dip the knife in, and leave for about 10 seconds to warm the blade through. Dry the knife on a tea towel (dish towel) before slicing. Repeat this process after every slice for a perfectly clean cut.
.
12. The cake can be stored in an airtight container at room temperature for 1-2 days, and can be refrigerated for up to 5 days. Bring it back to room temperature for at least 2 hours before eating, or better still, warm it up in a 150 degree oven for about 10 minutes to fresh it up again.
No comments:
Post a Comment